Publish Your First Press Release
This tutorial takes you from an empty newsroom to one published press release on your own domain, in about ten minutes. Every step is in the dashboard.
Who this is for: You handle communications, you already have a SpiderPublish site, and you are putting your first announcement on it.
What you'll build: A working newsroom on your own domain, carrying one published release, one named media contact, and a company boilerplate that every future release reuses.
Before you begin
You can sign in to the dashboard and open Publish → Press.
You have the text of one real announcement.
You know the city the announcement is datelined from.
Steps
Step 1 — Open the newsroom
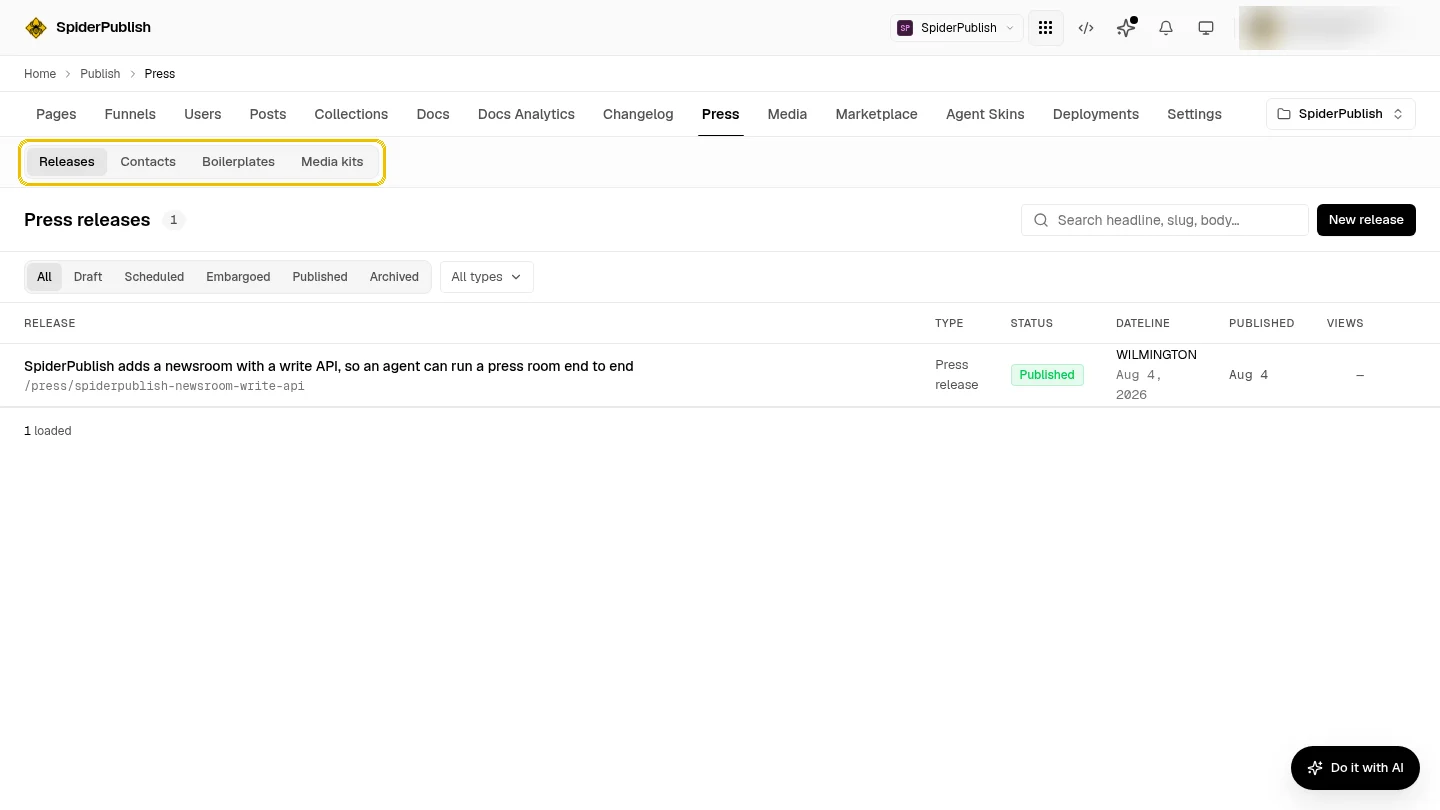
Go to Publish → Press. The newsroom has four tabs: Releases, Contacts, Boilerplates and Media kits. A release attaches a contact and a boilerplate by picking them from a menu, so you will create those two first and write the release third.
Step 2 — Add a media contact
Open Contacts and select New contact. Give the name, role, email, region and beat of the person a journalist should reach. This is the contact block that appears at the foot of every release you attach it to.
Step 3 — Write your boilerplate
Open Boilerplates and select New boilerplate. Write the standing "About your company" paragraph and mark it as the default, so new releases pick it up without you choosing it each time.
Step 4 — Start the release
Open Releases and select New release. Write the headline, adjust the URL slug under it, add a one-sentence subheadline, and set the dateline city and date. Write the body in the editor below.
Step 5 — Attach the contact and boilerplate
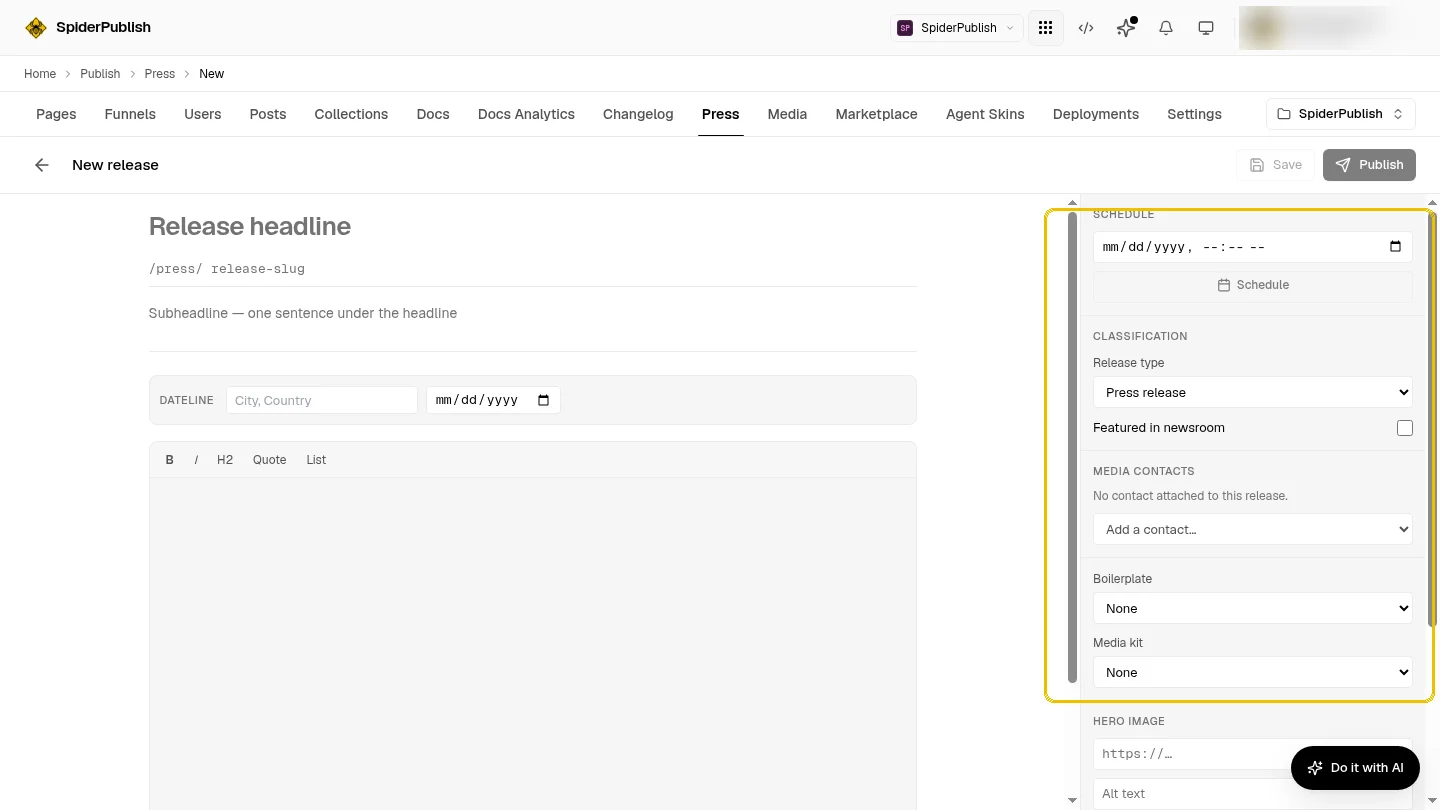
In the panel on the right, choose the release type, then attach the contact from Add a contact… and the boilerplate from the Boilerplate menu. Add a hero image and fill the SEO and social fields while you are here — nothing else prompts you for them later.
Step 6 — Publish
Select Publish.
Step 7 — Open your newsroom
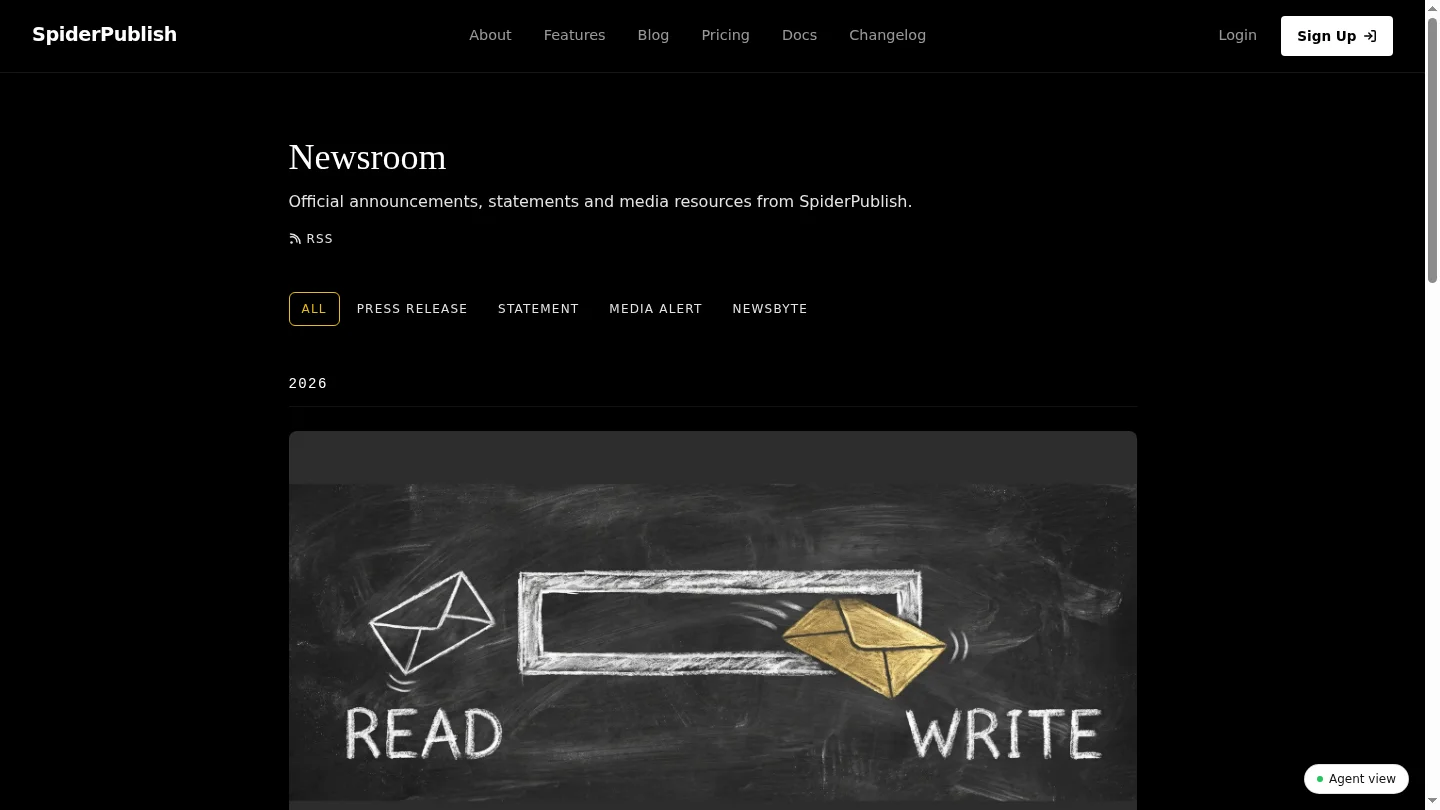
Go to /press on your own domain and find your release under the current year.
What you've built
Your site now has a real newsroom. The release is on /press, filterable by type, and carried in the RSS feed at /press/feed.xml. Adding .md to the release URL returns the same release as clean markdown, which is what AI assistants read when they cite you. Your contact and boilerplate are stored records now — the next release reuses both instead of retyping them.
Troubleshoot
The Boilerplate and contact menus are empty? They list stored records, and you have none yet. Create them under the Contacts and Boilerplates tabs, then reopen the release.
Your release is not on the public newsroom? Check the STATUS column on the Releases list. Draft, Scheduled and Embargoed releases are deliberately not public. Open the release and select Publish.
No contact block at the foot of the published release? The release has no contact attached. Open it, pick one under Add a contact…, and save.
The robots setting refuses to save? It is always a pair. Choose
index,follow,noindex,nofollowornoindex,follow— a barenoindexis rejected.
Related
Newsroom and press releases — every field, feed and template in the newsroom.